A friend who has a
motorcycle accessories business asked if I would be interested in trying out one of the new pit bikes currently being imported. So I arranged to pick it up from Green's Machines on a cool and drizzling Saturday, a perfect project for such a day.
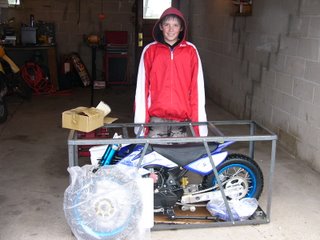
This is how it showed up, strapped into a metal crate, front wheel, fender, handlebars and small box of parts all tucked alongside. My contact claimed that FedEx shipping to a drop terminal was only $60. This seemed pretty reasonable. The crate is held together by a dozen bolts, and the bike is then held by two wires to the crate. Included in the small box of parts is a toolkit, which contains everything you will need to make the bike ready to run, and the front axle, shock mounting bolt, and top clamp for the handlebars. Also included was 4 tie wraps, 2 automotive fuses, point of origin paperwork and a 10 page User Manual. The Manual contains the typical Chinese to English translations that makes it worth reading for the humor alone. But all kidding aside as with all motor vehicles the manufactures supplied manuals should always be read.
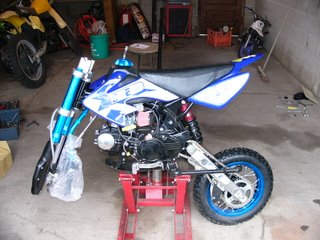
After freeing it from its crate we manage to perch it on a shop stand. First we hooked the shock to the swing arm, using the supplied tools. The large Allen slides into the swing arm through the left side and through the shock to thread into the right side of the swing arm.
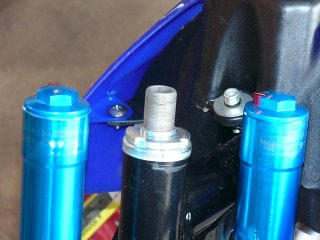
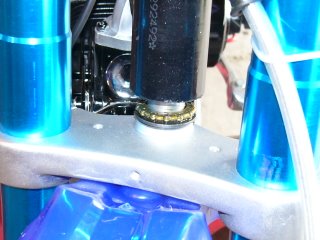 Next, because I wanted to check the steering bearings for grease I removed the top triple clamp from the front shocks and then removed the retaining nut, after loosening the the steering nut the steering head drops down and allows access to the top and bottom bearings. They appeared to have a nice light coating of grease, but since I went this far I decided to apply a healthy glob of bearing grease to both. I don't think this is something that you would need to do, but if you do, remember not to take the retaining nut all the way off, you could end up with bearings all over. This operation also required tools not furnished with the bike. After putting the steering head back together make sure its tight, but not too tight, it should turn smoothly with no side to side or up and down movement.

The handle bars need to be unwrapped and then set into the bar holder, I put them on and set them at the angle most comfortable for my 10 year old rider. Three bolts hold the front fender, this left only the front wheel to put on. The axel comes with two spacers, make sure that the narrow one is on the side of the brake. While we are talking about brakes its important to not that they are front and back disc brakes with rad looking wavy rotors and gold anodizing on edge. Make sure you take the plastic shipping wedge out from between the pads. Remeber the plastic protectors for the upside down forks face forward, I got to put the front axle on twice due to my lack of attention.
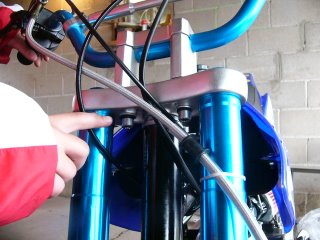
At this point your ready to do a complete front to back fastener check. Go over ever nut, bolt and screw. I found seven very loose bolts that wouldn't have stayed on for fifteen minutes of run time, three of these were on the triple clamps so make sure you check them on yours. Don't forget the two under the steering head either.
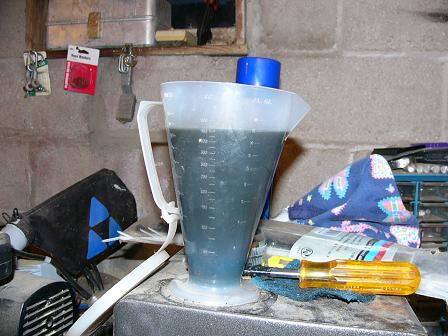
After a thorough fastener review its time to air the tires, I put them at 28psi, and checked the oil. Ours was full and the sticker on the side said that it takes 0.8 liters to fill.

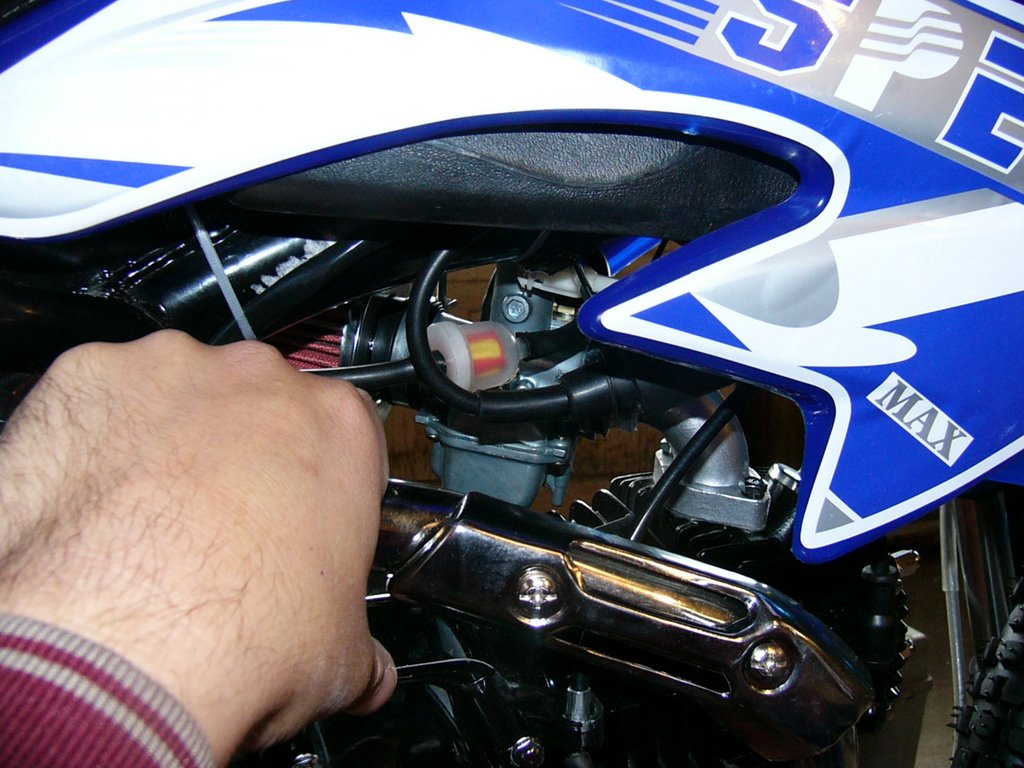
The fuel line as shipped seemed to be a rather large loop, I trimmed it and re routed it around the other side of the carburetor. That's when I discovered the un connected ignition wire, make sure you get this hooked up also.
The only item left was the front number plate, after 5 minutes of turning it upside down and backwards, I'll be dipped to figure out how it goes on. Eventually my "I can figure this out" spirit started kicking in and after another 15 minutes of trying to ty-rap it on, I finally decided I liked the non-plated outlaw look better anyway and put the number plate into my box of vintage XR parts.
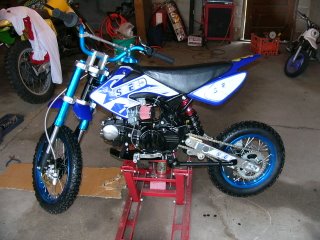
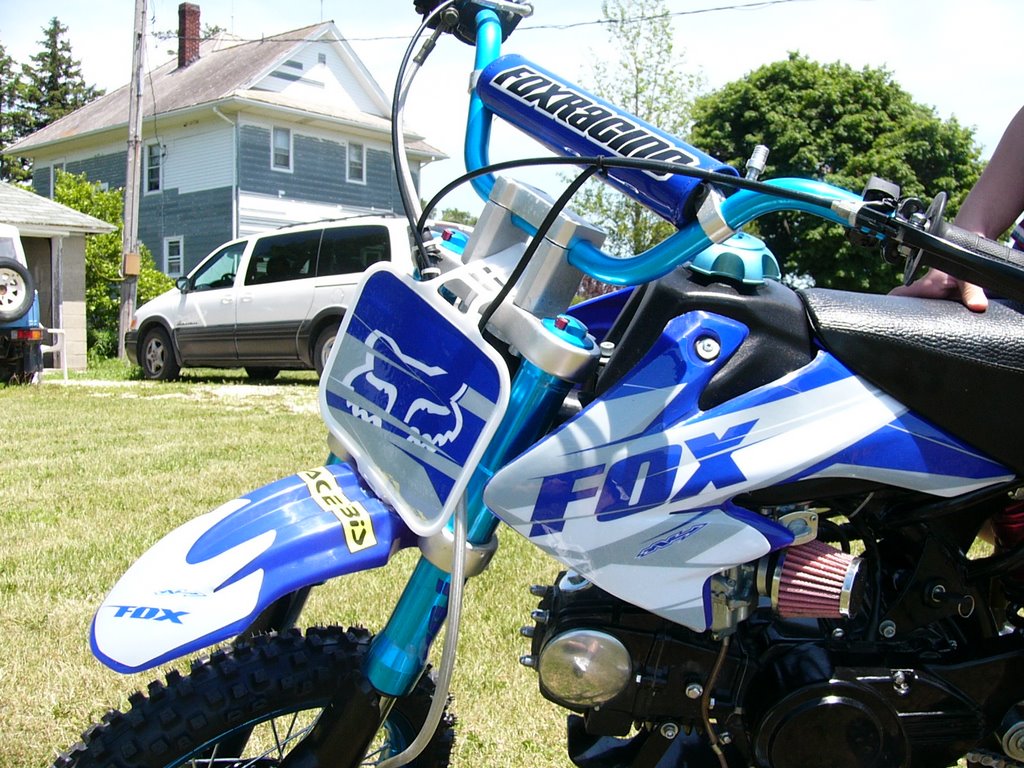
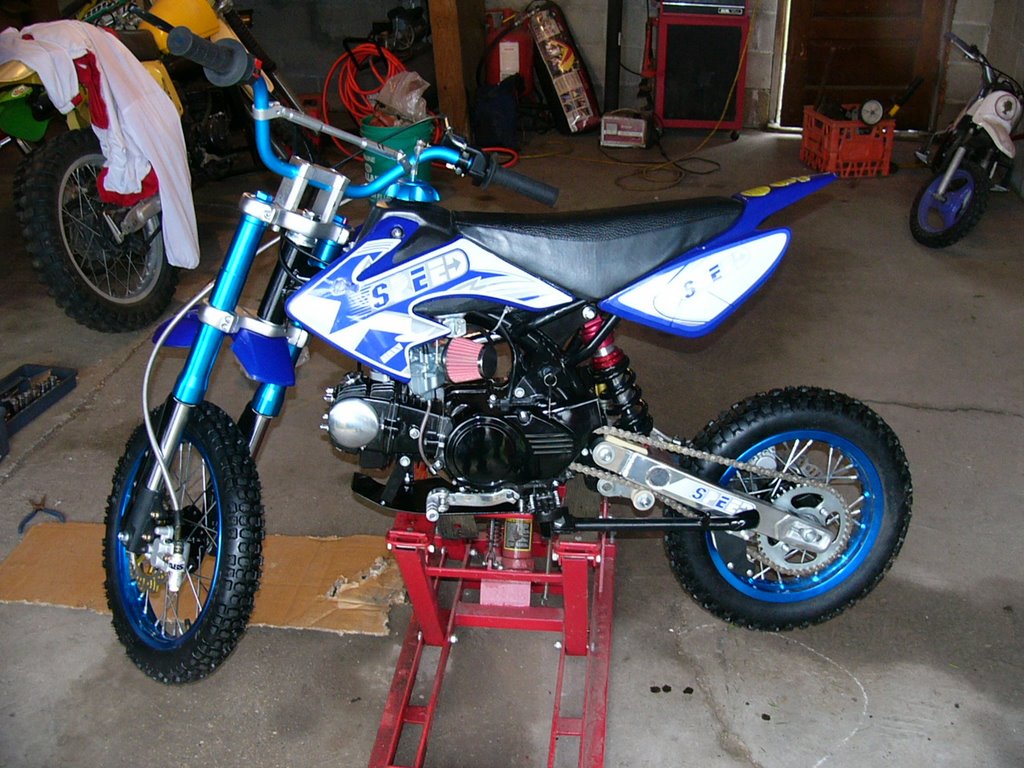
Lets talk some specs on the Coolster Max. Its produced in China on Honda tooling I am told by my contact in the US. The motor is a copy of the Honda 125cc horizontal style that was that companies staple through the 70's. Transmission is a four speed, and the exhaust is a racy looking and sounding 4 inch aluminum can on a chromed pipe. Wavy disc brakes front and back gets this mini bike stopped. The front brake will require a minute or so of pumping at the lever before it gets solid to the actuator. The forks are the upside down variety and the single shock in back is adjustable. The forks have a red screw on top that appears to be a valving rate adjustment of some sort, I haven't messed with it yet, but will let you know on follow ups. Suspension is stiff out of the crate, so I will definitely have to spend some time with it to make it more usable for a 90 pound boy. Wheels are 14 inch front and 12 inch back, the tires are a dirt universal style tread that is not as aggressive as a true knobby pattern. I plan on throwing a set of knobbies on it to see how it handles with them. Seat height measured 30 inches from the ground with 12 inches of travel between the rear fender and tire.

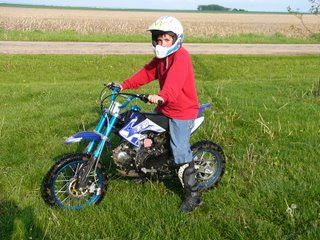
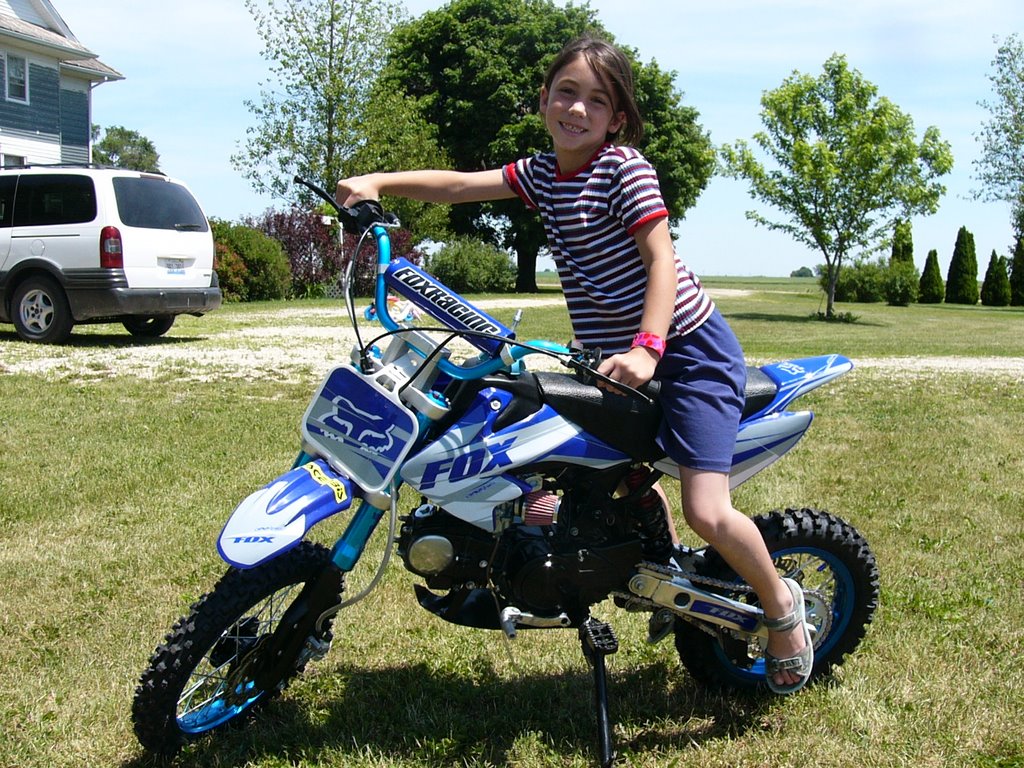
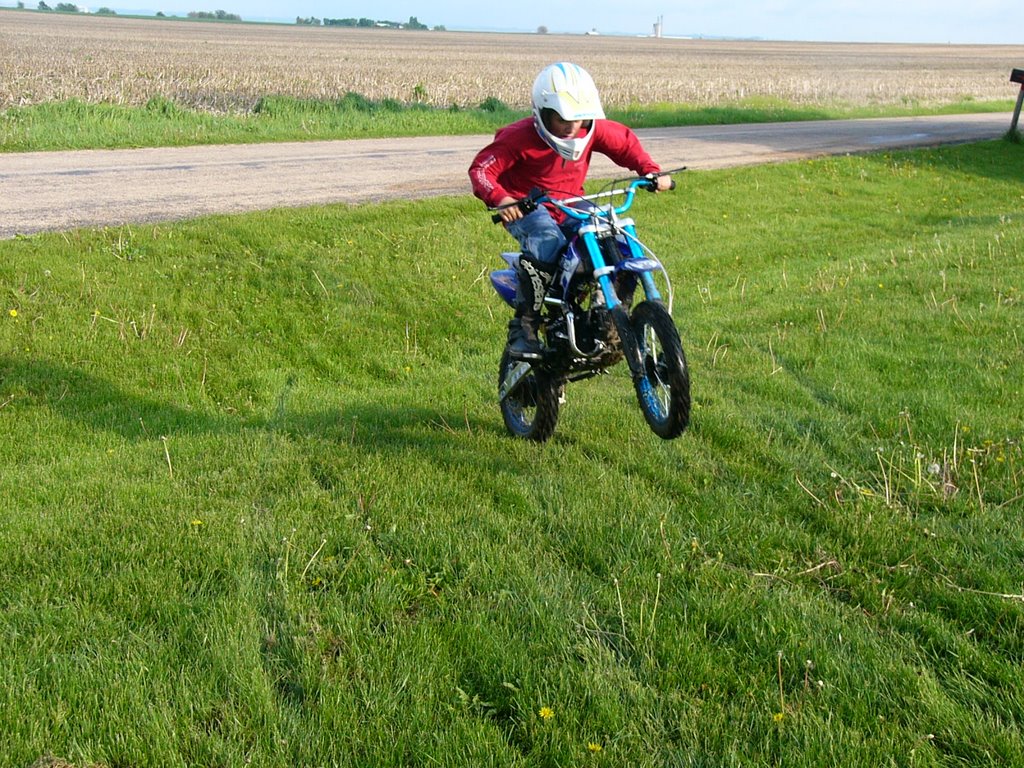
On to the important stuff, how does it run? Great! is the answer. Fill with gas, turn the key to on, choke up and one kick got it running, that's right one kick! Let is sit for a minute running to warm up, take off the choke and take off. The motor has a good torquey feel to it, making it easy to ride. The exhaust absolutely roars. My test rider was making laps and putting it over the short jump in minutes. Wheelies were a little difficult, but the imposed "no big revs during break in" and wet grass conspired against the needed traction. In a closed track head to head against a KX60 my impression is that the Kawi would beat it. The increased weight and slower revving fourstroke I don't think will be able to beat the KX from corner to corner, but that is a topic for a later post.
Overall impression, I really like it. The looks can't be beat, with electric blue anodized rims, billet gas cap and forks, race rat styled air filter and already mentioned wavy rotors. The motor is familiar and un complicated, I dig the idea of putting this style and size of motor into an over the top suspension package, and although it is mainly for youngsters, the suspension should easily support an average adult, maximum load per the manual is 115kgs. Other areas we are looking at are a real set of knobbies, and some upstyled graphics. Included in that will no doubt be a front plate that fits. The price? you ask, I'm told that they will most likely sell around the $1300 mark, of coarse that can change up or down depending on how popular this current model will be, and I think it will be very popular. So if you want a low cost, easy to ride bike for larger novice riders I can whole heartedly recommend the Coolster 125cc pit bikes, you won't be sorry.

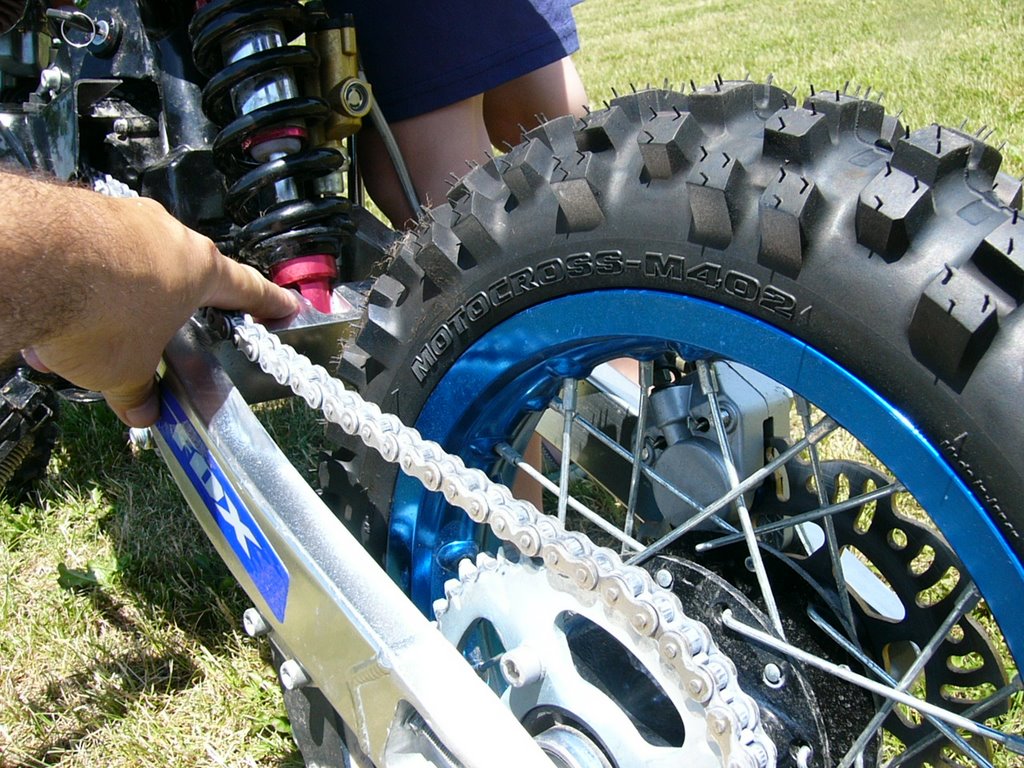
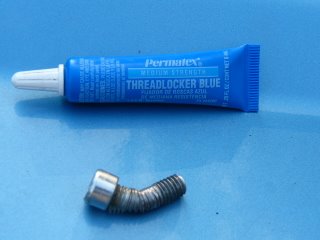 The only indication was a slight squeaking coming from the back end, it apparently backed out and contacted the swing arm. New stainless M8 bolts and lock washers from the hardware store are now installed along with plenty of blue thread locker. If I had it to do all over again I would remove all the bolts first, clean with a degreaser like contact cleaner and loctite all fasteners with the blue stuff. I wouldn’t recommend the high strength red loctite, life’s tough enough, you would need to heat up your bolts to reliable remove them with the high strength stuff.


